Achieving a flawless, even floor is a top priority for homeowners and tile installers alike. Uneven tiles not only detract from a room’s aesthetics but can also cause long-term durability issues. While traditional methods of tile installation have their merits, modern solutions offer enhanced precision and ease. When searching for the best way to create a smooth, professional finish, many turn to Tile Leveling Spacers for dependable results and peace of mind.
Why Even Floors Matter
Level flooring is essential for both visual appeal and functionality in American homes. Uneven tiles can lead to tripping hazards, make cleaning more difficult, and even affect the resale value of a property. Achieving a consistent surface is especially important in high-traffic areas such as kitchens, bathrooms, and entryways, where both safety and design matter most.
How Tile Leveling Spacers Work
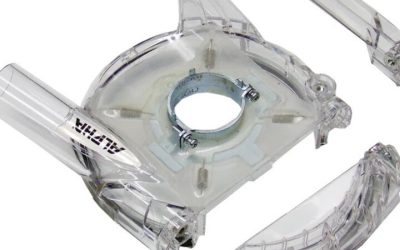
Tile leveling spacers are innovative tools designed to address common challenges during tile installation. They are placed between tiles to maintain consistent gaps and ensure that each tile is perfectly aligned with its neighbors. These spacers help eliminate “lippage”—the unevenness that occurs when tiles are not set at the same height.
Key benefits include:
• Consistent Grout Lines: By maintaining uniform gaps, spacers create straight, professional-looking grout lines.
• Reduced Lippage: The system locks tiles in place, minimizing height differences that can cause tripping hazards.
• Faster Installation: With the right tools, installers can work more efficiently, reducing the time spent on adjustments.
• Improved Durability: Evenly installed tiles distribute weight more effectively, reducing the risk of cracks or loose tiles over time.
Step-by-Step Guide to Using Tile Leveling Spacers
For those considering a DIY tile project or seeking to understand the process, here’s a simplified overview:
1. Prepare the Surface: Ensure the subfloor is clean, dry, and level before beginning.
2. Apply Adhesive: Spread thin-set mortar evenly across a small section of the floor.
3. Lay Tiles and Insert Spacers: Position each tile, placing spacers at the corners or along the edges as needed.
4. Adjust for Level: Use the leveling system to fine-tune the height of each tile, ensuring a flat surface.
5. Allow to Set: Once all tiles are in place, let the adhesive cure according to the manufacturer’s instructions.
6. Remove Spacers: After the tiles have set, carefully remove the spacers before grouting.
Choosing the Right Tile Leveling System
With several options available, selecting the right type of spacer depends on your specific project. Some systems use wedges and clips for added stability, while others offer reusable components for eco-friendly installation. Consider the tile size, thickness, and the desired grout line width when making your choice. Reading product guides and installation tips can help ensure optimal results.
Enjoying Flawless, Professional Floors
Perfectly even tile floors are more achievable than ever with the right tools and techniques. By incorporating tile leveling spacers into your next project, you can expect a smoother installation process, enhanced visual appeal, and long-lasting durability. Whether you’re updating a single room or tackling a whole-house renovation, investing in proper leveling tools is a smart step toward creating beautiful, safe, and valuable living spaces throughout your American home.